Today's post is by Erin Vogt
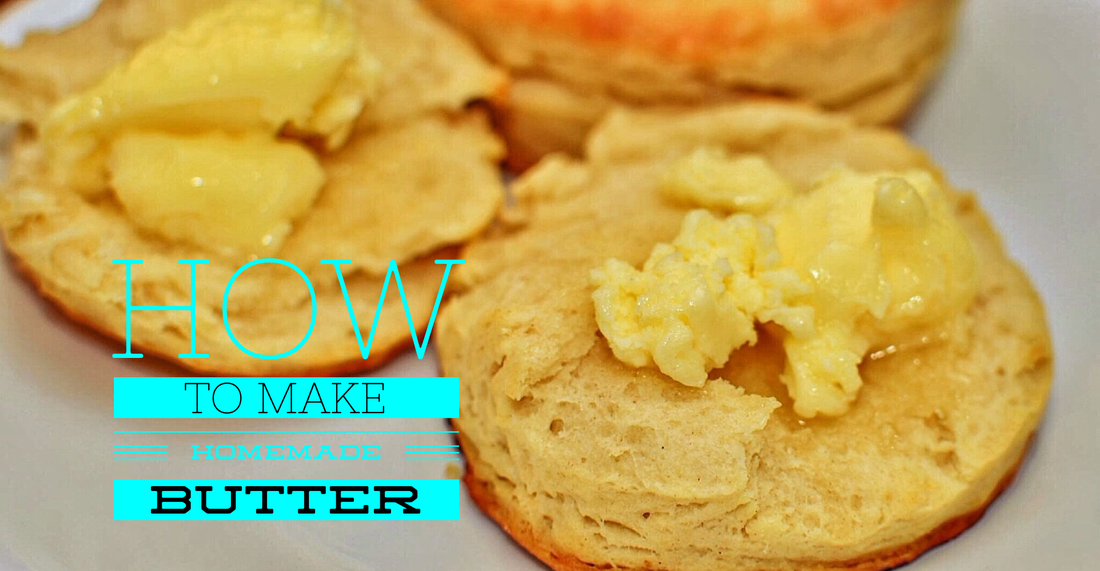
Much like the flavor of pasture-raised meats is tough to beat, the flavor of butter made with fresh cream from freely grazing sheep or cows is incomparable to those boxes of butter you can purchase at the store. Making butter at home is much easier than you might think, and the flavor possibilities are seemingly endless. Not only can you control the amount (and type) of salt used, but it’s easy to make sweet and savory butters to accompany many different foods. Plus, you get buttermilk which is perfect for making creamy homemade salad dressings, pancakes, and more!
While just about any type of heavy cream will work for making butter, raw or pasteurized (NOT ultra-pasteurized) creams yield the best results, both for taste and for health. Ask around at your local farmer’s markets and health food stores for cream sources. When considering amounts, keep in mind that the cream to butter ratio is approximately 2:1. In other words, two cups of cream will yield approximately 1 cup of butter.
I make butter once a month or so. It takes me about an hour to make two or three pounds of butter and nearly a quart of buttermilk. I have made butter in my stand mixer, my food processor, and even a Mason jar (great activity for the kids!). My preferred method, however, is to use my blender. It’s faster and less messy. My blender is nothing fancy, just a basic Ninja, so no special equipment is required!
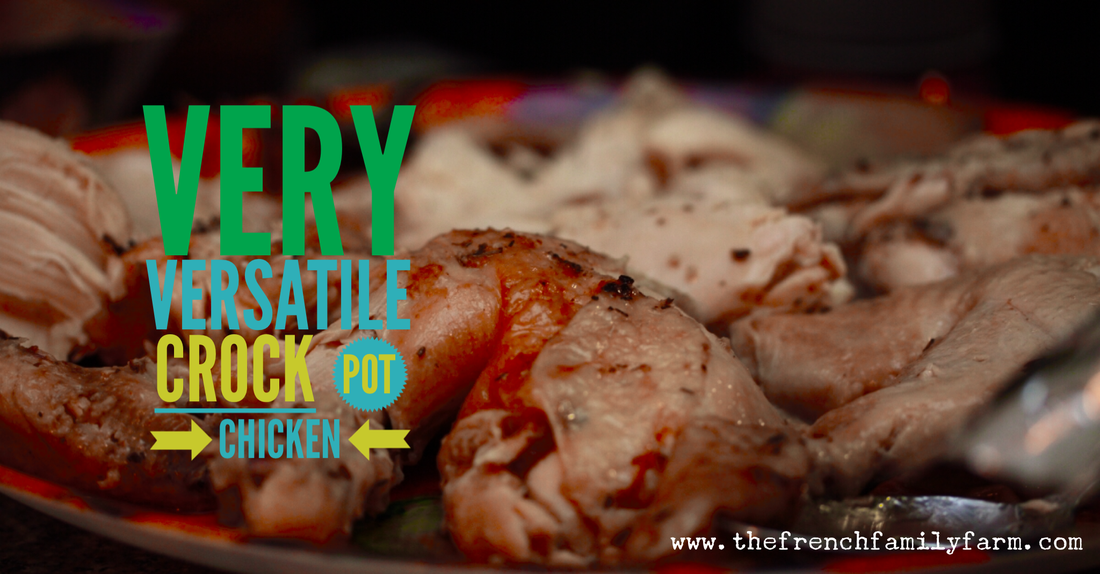
As I mentioned above, there are many different ways to flavor homemade butters. To make a savory butter perfect for adding to the top of freshly-grilled steaks, lamb chops, or pork chops, try adding chopped fresh herbs, such as rosemary, chives, and parsley as well as freshly ground black pepper. Adding lemon zest and coarsely ground black pepper would be excellent on grilled chicken or seafood. Or try adding a natural sweetener such as honey or maple syrup, perfect for slathering on warm rolls and pancakes. Add a sprinkle of cinnamon for extra flavor! Get creative, and let us know your favorite combinations!
Homemade Butter
Recommended equipment:
Blender
Fine-mesh strainer, at least 6”
Bowl and jar for collecting and storing buttermilk
Funnel
Pitcher for holding ice water
Large bowl for holding butter
Cheese cloth (optional)
Butter mold, muffin tin, bread loaf pan, glass storage container, etc.
Ingredients:
2 cups very cold heavy cream, preferably raw or pasteurized (not ultra)
1/2 teaspoon salt - I use Redmond’s Real Salt
Add-ins, if desired, as listed above
Directions:
Make a pitcher of ice water; set aside. Add cream to blender, cover, making sure lid is secure. Whip cream on medium to high speed, scraping the sides down occasionally. Watch the cream closely as it changes from cream to whipped cream, and eventually as the butterfat separates from the buttermilk. Lower the speed of the blender as the cream separates to cut down on splattering.
Leaving the lid on the blender to keep butter in the pitcher, carefully pour the buttermilk through the strainer into a bowl. Return the blender pitcher to the base and blend again for a few seconds to further separate the butterfat and milk. Strain off any additional buttermilk that has separated. Once again, return the blender to its base. Add a cup or two of ice cold water, strained, to keep any ice cubes out. Blend cold water and butter on low for several seconds to separate buttermilk from butter. Strain water from butter and discard the water. **If you are planning to consume the butter immediately, one ice water rinse is sufficient. If you are planning to store the butter, however, repeat this ice water rinse process one or two more times. Removing as much buttermilk as possible will extend the freshness of the butter.** Rise and dry blender pitcher.
Once butter has been sufficiently rinsed, working quickly, squeeze butter in hands to remove additional water. Cheese cloth may also be used. Return butter to blender. Add salt, blend briefly to mix, and make adjustments as needed. Additional ingredients may be added now.
Press butter into molds and use immediately or place in freezer. Once frozen, remove butter from molds, wrap in parchment paper, and store for up to 3 months in the freezer.
Erin resides in Blacksburg, VA with her husband and three school-age children. With her family’s health in mind, she has made cooking for her family her passion, exchanging many readily available processed foods for whole, healthy ingredients. She also loves to garden and take floral photography, and creates 100% natural bath and body care products.
More from The French Family Farm
 |  |  |
